Mother’s Day is now, but there’s still time to whip up a heartfelt handmade gift! With a simple DIY terracotta pot wreath, you can craft a beautiful, budget-friendly present to celebrate Mom. Transform basic clay pots into a stunning art piece for her front door or garden shed with just a few affordable supplies and your creativity.
This easy Mother’s Day weekend project involves painting various terracotta pots in bright, lively colours. Then, arrange and wire the pots into a circular wreath frame for a one-of-a-kind creation. Customize with Mom’s favourite hues and add ribbons or accents for a personal touch. A clay pot wreath’s texture and layered look make it a unique way to recognize her special day.
We’ll provide tips on selecting materials, prepping and painting the pots, constructing the wreath form, and finishing touches to present your DIY Mother’s Day gift. Show Mom your appreciation through this thoughtful, handcrafted project she can proudly display indoors or out.
Selecting Materials for the DIY Pot Wreath
To make this special Mother’s Day gift, you’ll need:
- Mini terracotta pots in a range of sizes from 2-6 inches wide. Opt for various shapes like rounds, squares, and scallops.
- Acrylic craft paint in an assortment of bright, lively colours that mom loves. Choose her favourite coordinating shades.
- Florist wire is used to attach the pots to the circular frame. 24 gauge works well.
- A circular frame like a hula hoop, bike tire, or grapevine wreath base to shape the pots around.
- Additional tools can include hot glue, wire cutters, scissors, and pliers for manipulating materials.
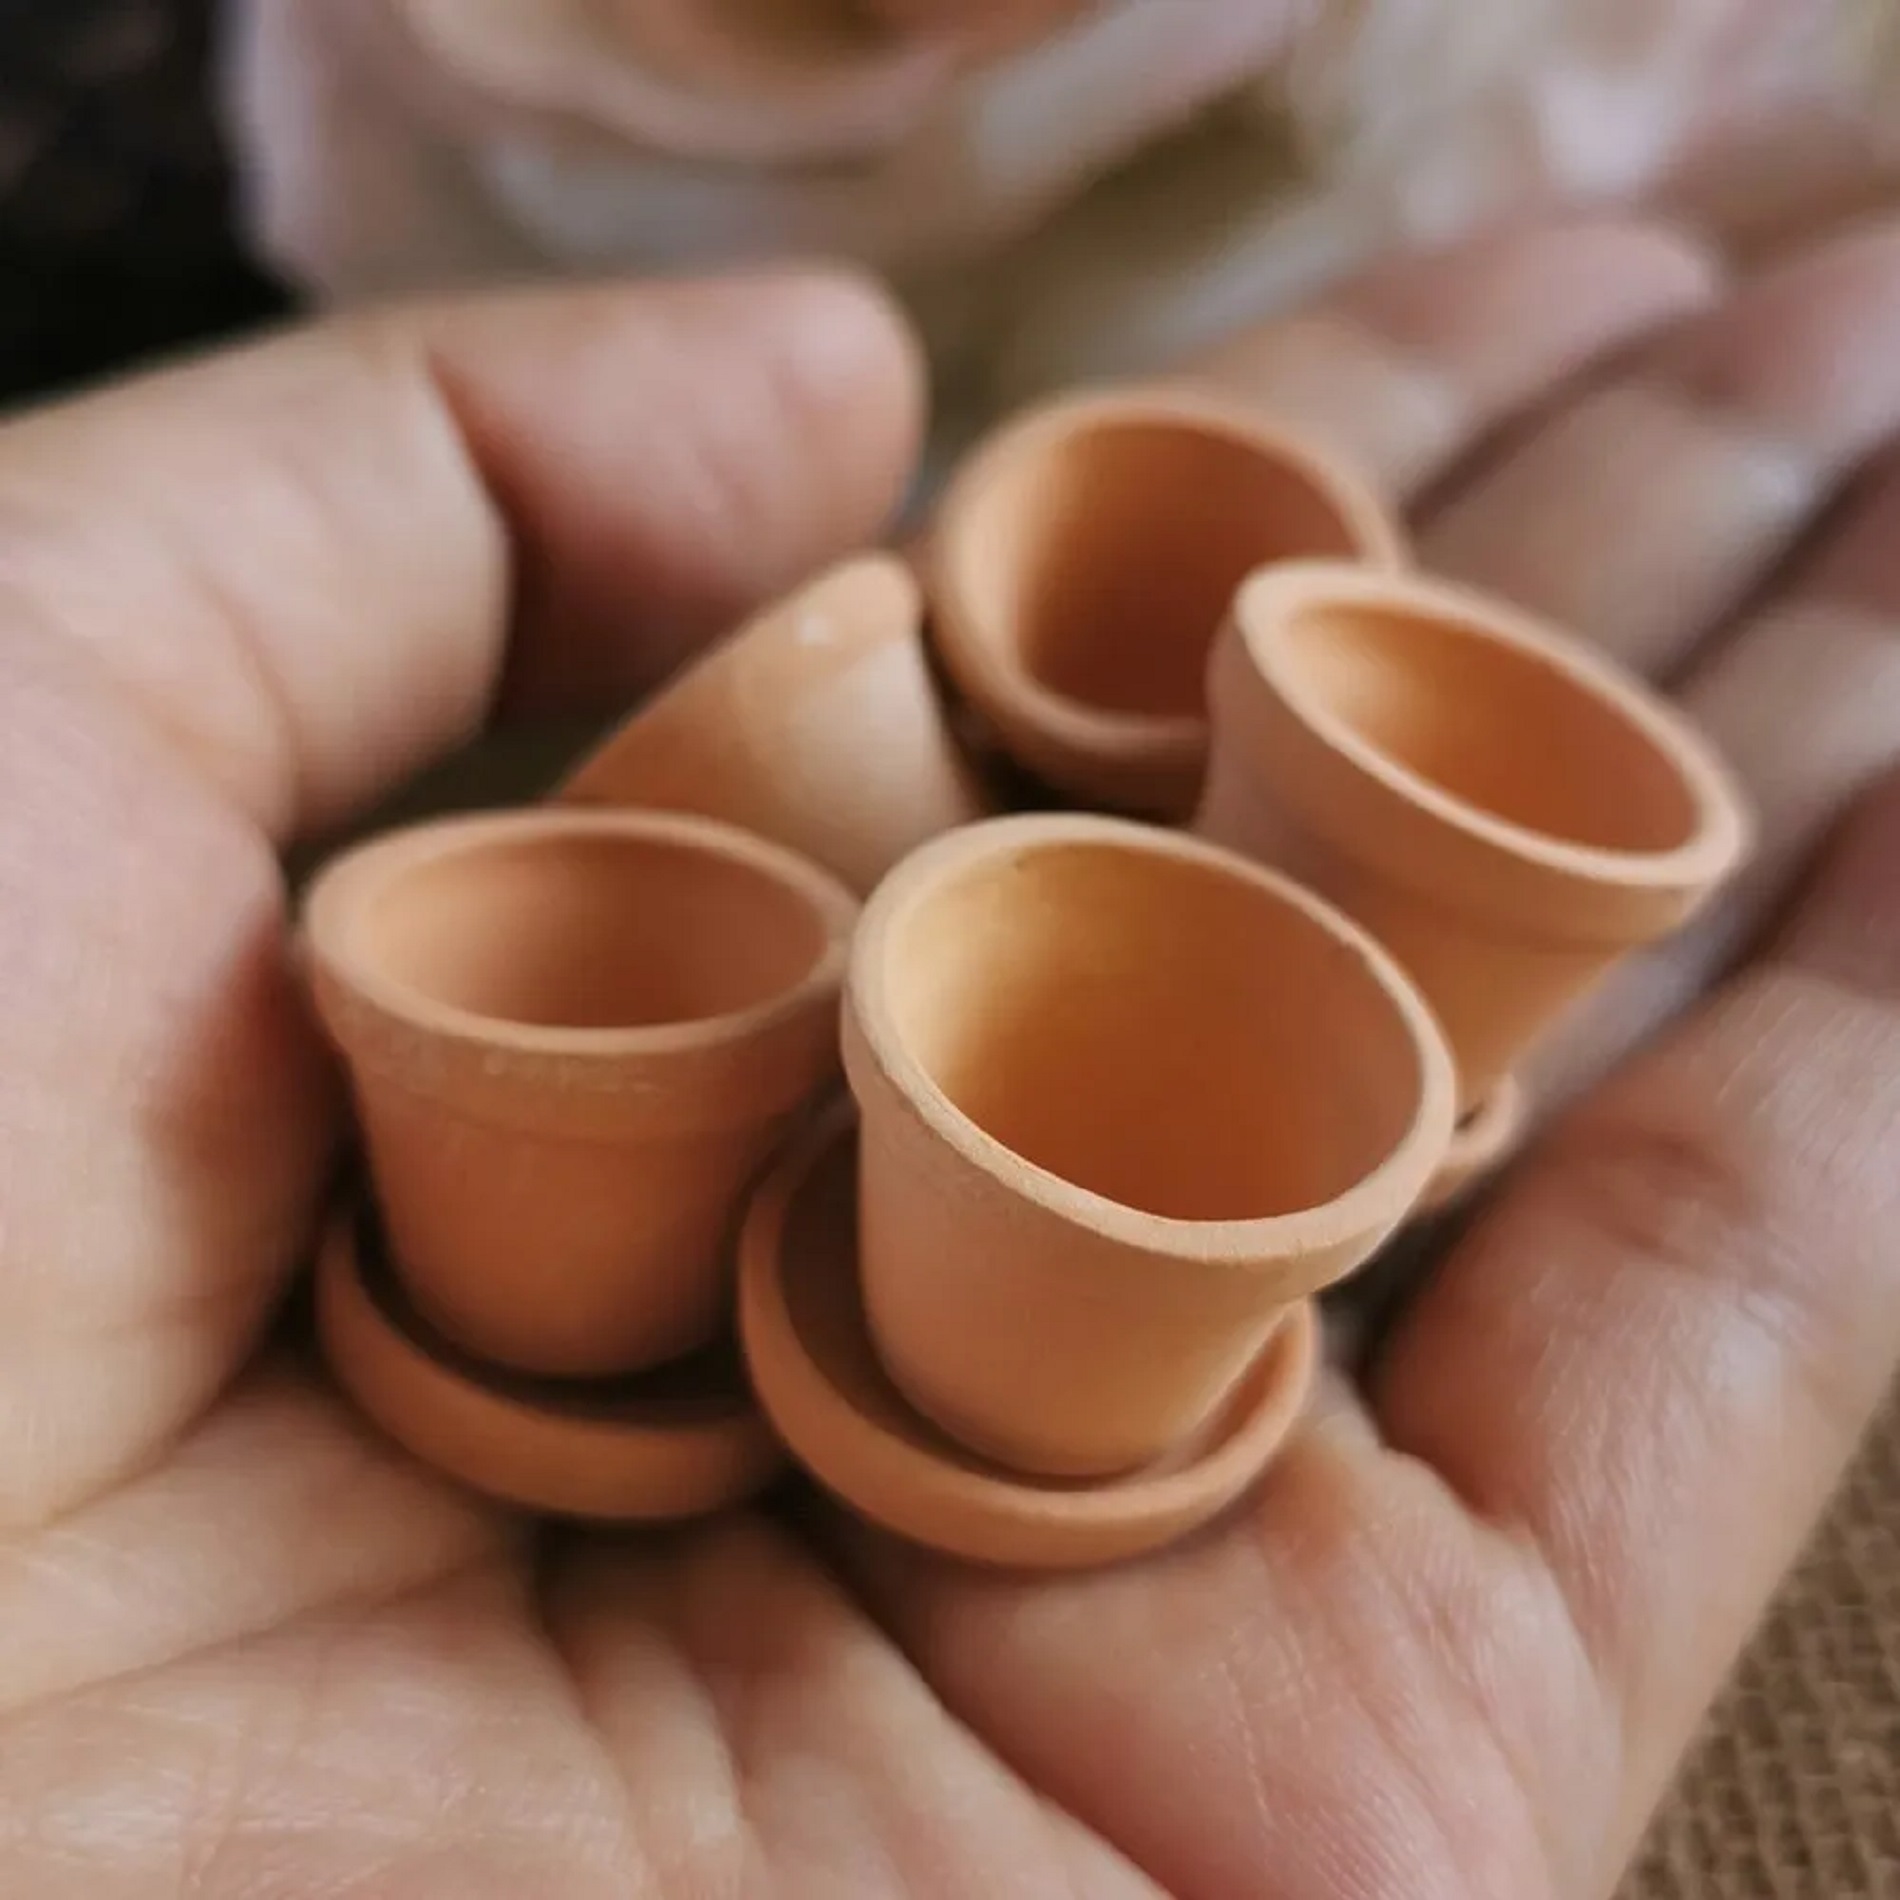 Shop for these essential components at local craft stores, dollar stores, home improvement centres, or online retailers. Try to find pots with interesting aged patinas or varied earthy hues for more texture. Let your creativity guide colour and material choices to craft a wreath with personal touches just for Mom. You can design a homemade Mother’s Day gift she’ll cherish.
Prepping and Painting the Pots
Before painting, prep the terracotta pots so the colour adheres well and the surfaces are smooth.
First, wipe away any dirt or debris with a damp cloth. Use a wire brush or sandpaper to smooth any rough areas or rim edges lightly.
Choose fun, vivid colours of craft paint that match Mom’s favourite style or a variety inspired by the seasons, like pastels for spring. Cover each pot fully for a solid effect, or try using two colours, light and dark. Let creativity guide you!
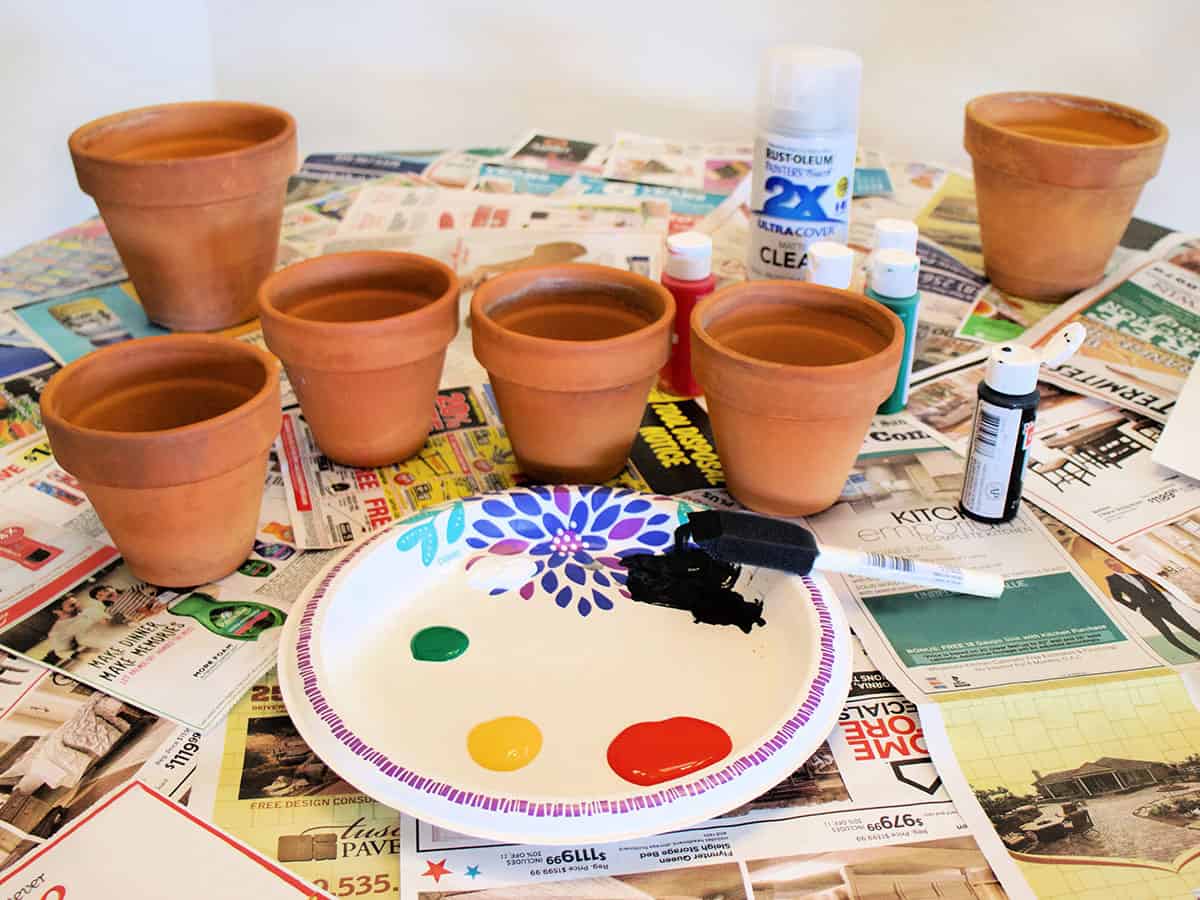 Dip a regular paintbrush into the acrylic craft paint and apply a thorough first coat on each pot. Ensure all surfaces are fully covered. If desired, add a second coat of paint after the first has dried for at least 1 hour. Paint the exteriors only unless you want some pots with interior colours.
Once the painting is complete, let the pots dry thoroughly for 24-48 hours before handling to prevent smudging. This will help the paint adhere to the clay and resist chipping over time. For extra longevity, seal the painted pots with clear glitter spray paint or acrylic sealer once fully dry. Then they’ll be ready rotorcraft to a wreath!
Get the kids involved in selecting fun colours and decoratively painting pots to make it a meaningful family Mother’s Day gift idea. The creativity and personal touches put into the painting process will make it extra special for Mom.
Constructing The Wreath Form
Once your painted pots are fully dry, it’s time to assemble the wreath structure.
First, shape your circular wreath frame – a hula hoop, bike rim, or grapevine base. Bend the hoop into a round shape if DIYing that option.
Cut your florist wire into segments around 10-12 inches long. Group the painted pots together based on colour shape. Play around arranging them in a visually pleasing clustered design before attaching them.
Aim for a balanced composition, with the larger or heavier pots towards the bottom for stability. Overlap some of the pots for depth and fullness, layering them attractively. Keep in mind the hanging orientation so both sides will look good.
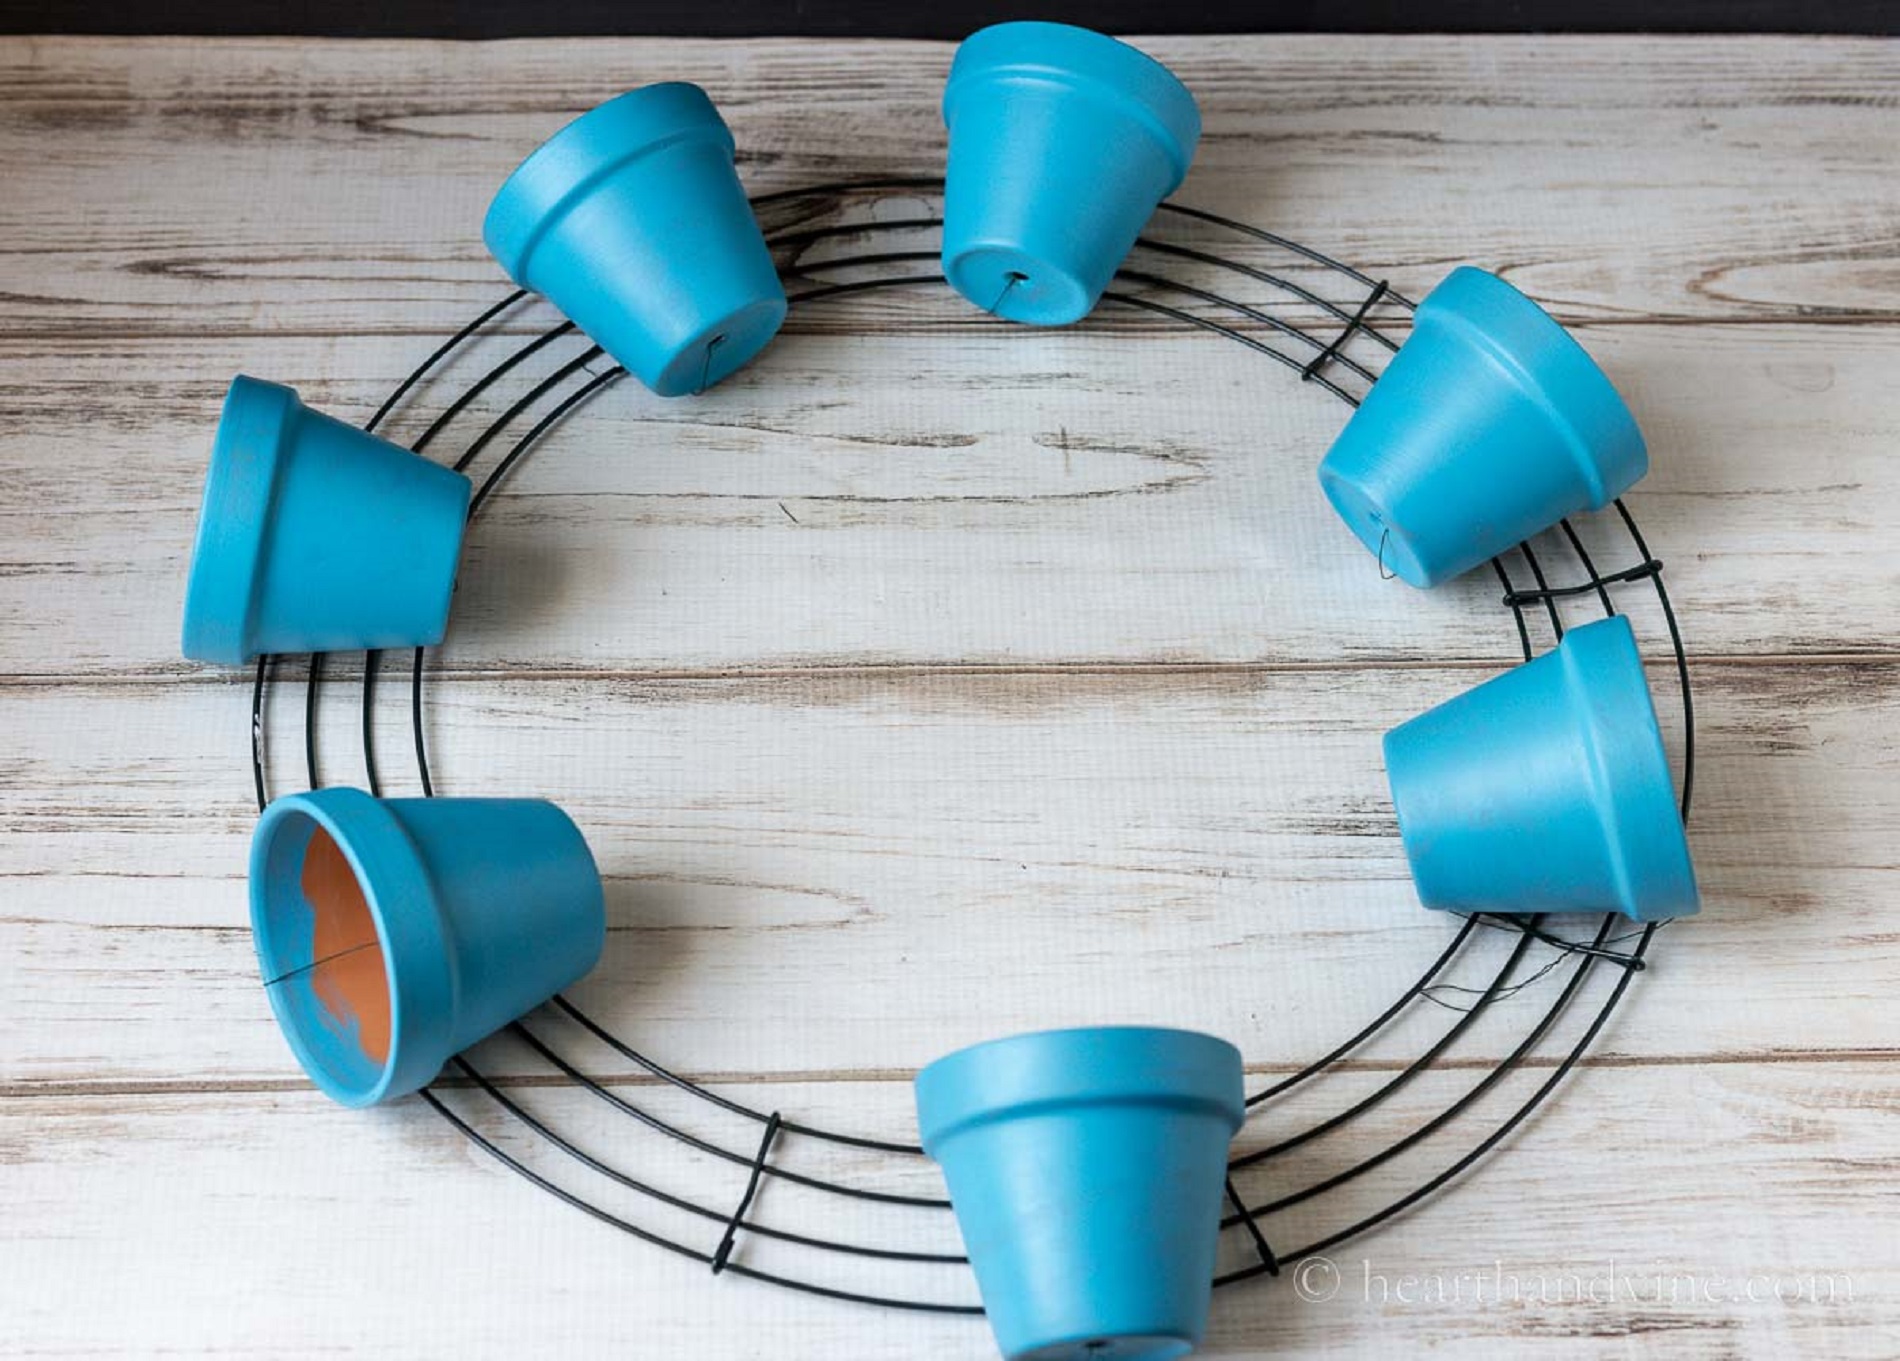
Twist the wire segments securely around each pot to attach it to the wreath form, using pliers for leverage if needed. Also, there is a wist wire between pots to connect them, leaving a loop for hanging. Conceal visible wires by threading them through the drainage holes in the pot bottoms.
Continue shaping the wreath and cinching clusters of pots until the frame is fully covered in a circular design. Stand back occasionally to ensure it looks functional and visually appealing from all angles. Adjust pots as needed for the final wreath form.
Take your time constructing to create something Mom will proudly display for years to come. The handcrafted wreath made with love will remind her of your thoughtfulness on Mother’s Day and always.
Finishing Touches for the Pot Wreath
Once your clay pot wreath form is complete, add final creative touches to complement the design. Use ribbon, raffia, artificial greenery, or floral stems to hide any visible wires and add visual interest.
Affix a small plaque, card, or decorative elements like seashells, beads, or butterflies using hot glue or wire. Consider adding a meaningful phrase like “Handmade with Love for Mom” or “Happy Mother’s Day”. Add the gift-giver’s name(s) so she knows who crafted this special keepsake.
If Mom plans to hang the wreath outside on a covered porch or patio, spray it with clear acrylic sealer once entirely constructed and dry. This adds a protective barrier against weathering. For indoor use, the sealer is optional.
Stand back and look at your finished terracotta pot wreath from all angles. Make any final adjustments to the wreath form, accents or hanging wire. Now, his heartfelt gift is ready to be given to celebrate Mother’s Day or any other day!
Presentation and Placement of the DIY Wreath Gift
Before giving it to Mom, place your handcrafted pot wreath gift into a gift bag or box lined with tissue paper for a fun reveal. Tie a bow around the handle or gift box. Include a sweet card thanking her for everything she does. You can also tuck in small bonus gifts like her favourite candies or gift cards.
 If the spots on the wreath are still drying, allow 24 hours for it to fully cure before wrapping to prevent streaks. Highlight suggested spots where she can proudly display her gift, like the front door, patio, or garden shed. WiItseutral earthy look makes a charming wreath for indoors or outdoors.
The wreath was carefully put together just for her with love to make this last-minute Mother’s Day gift extra special. She’ll be touched by the time and thought that went into this unique handmade gift. Your DIY clay pot wreath will make her smile and feel appreciated on her special day.
Make Mom’s Day Magical with a DIY Wreath!
Crafting a customized terracotta pot wreath is a thoughtful way to recognize everything Mom does for you. This unique handmade gift displays your creativity, time and care. Paint the clay pots in her favourite ones and arrange them into a stunning wreath for her wall or door. Add your personal touch with accents and a loving message. Celebrate Mom this Mother’s Day with your one-of-a-kind creation she’ll proudly display.
Want more ideas for gifts celebrating moms? Visit Aarons Outdoors online for customized playscapes, cozy granny flats or relaxing backyard studios to give her space to enjoy me-time. Make this Mother’s Day magical with a handcrafted labour of love!