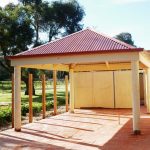
Building a DIY backyard shed or studio may seem like a great idea. But when the weather heats up, or temperatures drop, you’ll quickly realize your flimsy structure offers little protection from the elements. Properly insulating your outdoor room is essential for making it usable year-round.
This guide will teach you everything you need to know to effectively insulate your shed or studio walls, ceiling, floor, windows and doors. Installing insulation may seem intimidating as a DIYer, but following our simple, step-by-step instructions will ensure you get it right.
We’ll provide an overview of common insulation types like fibreglass batts, rigid foam boards, and reflective insulation so you can choose the best option for your needs. You’ll learn essential techniques for getting a snug fit around openings and avoiding heat loss through the framing.
With this complete guide to shed insulation under your belt, you’ll gain the confidence to tackle this project yourself. Just think how rewarding it will feel to relax in your cozy, temperature-controlled backyard oasis anytime you please! Grab your tools, and let’s get insulating.
Common Shed and Studio Insulation Types
When insulating your outdoor structure, it’s helpful to understand the most common insulation materials and their pros and cons. This lets you select the right option for your needs and project scope.
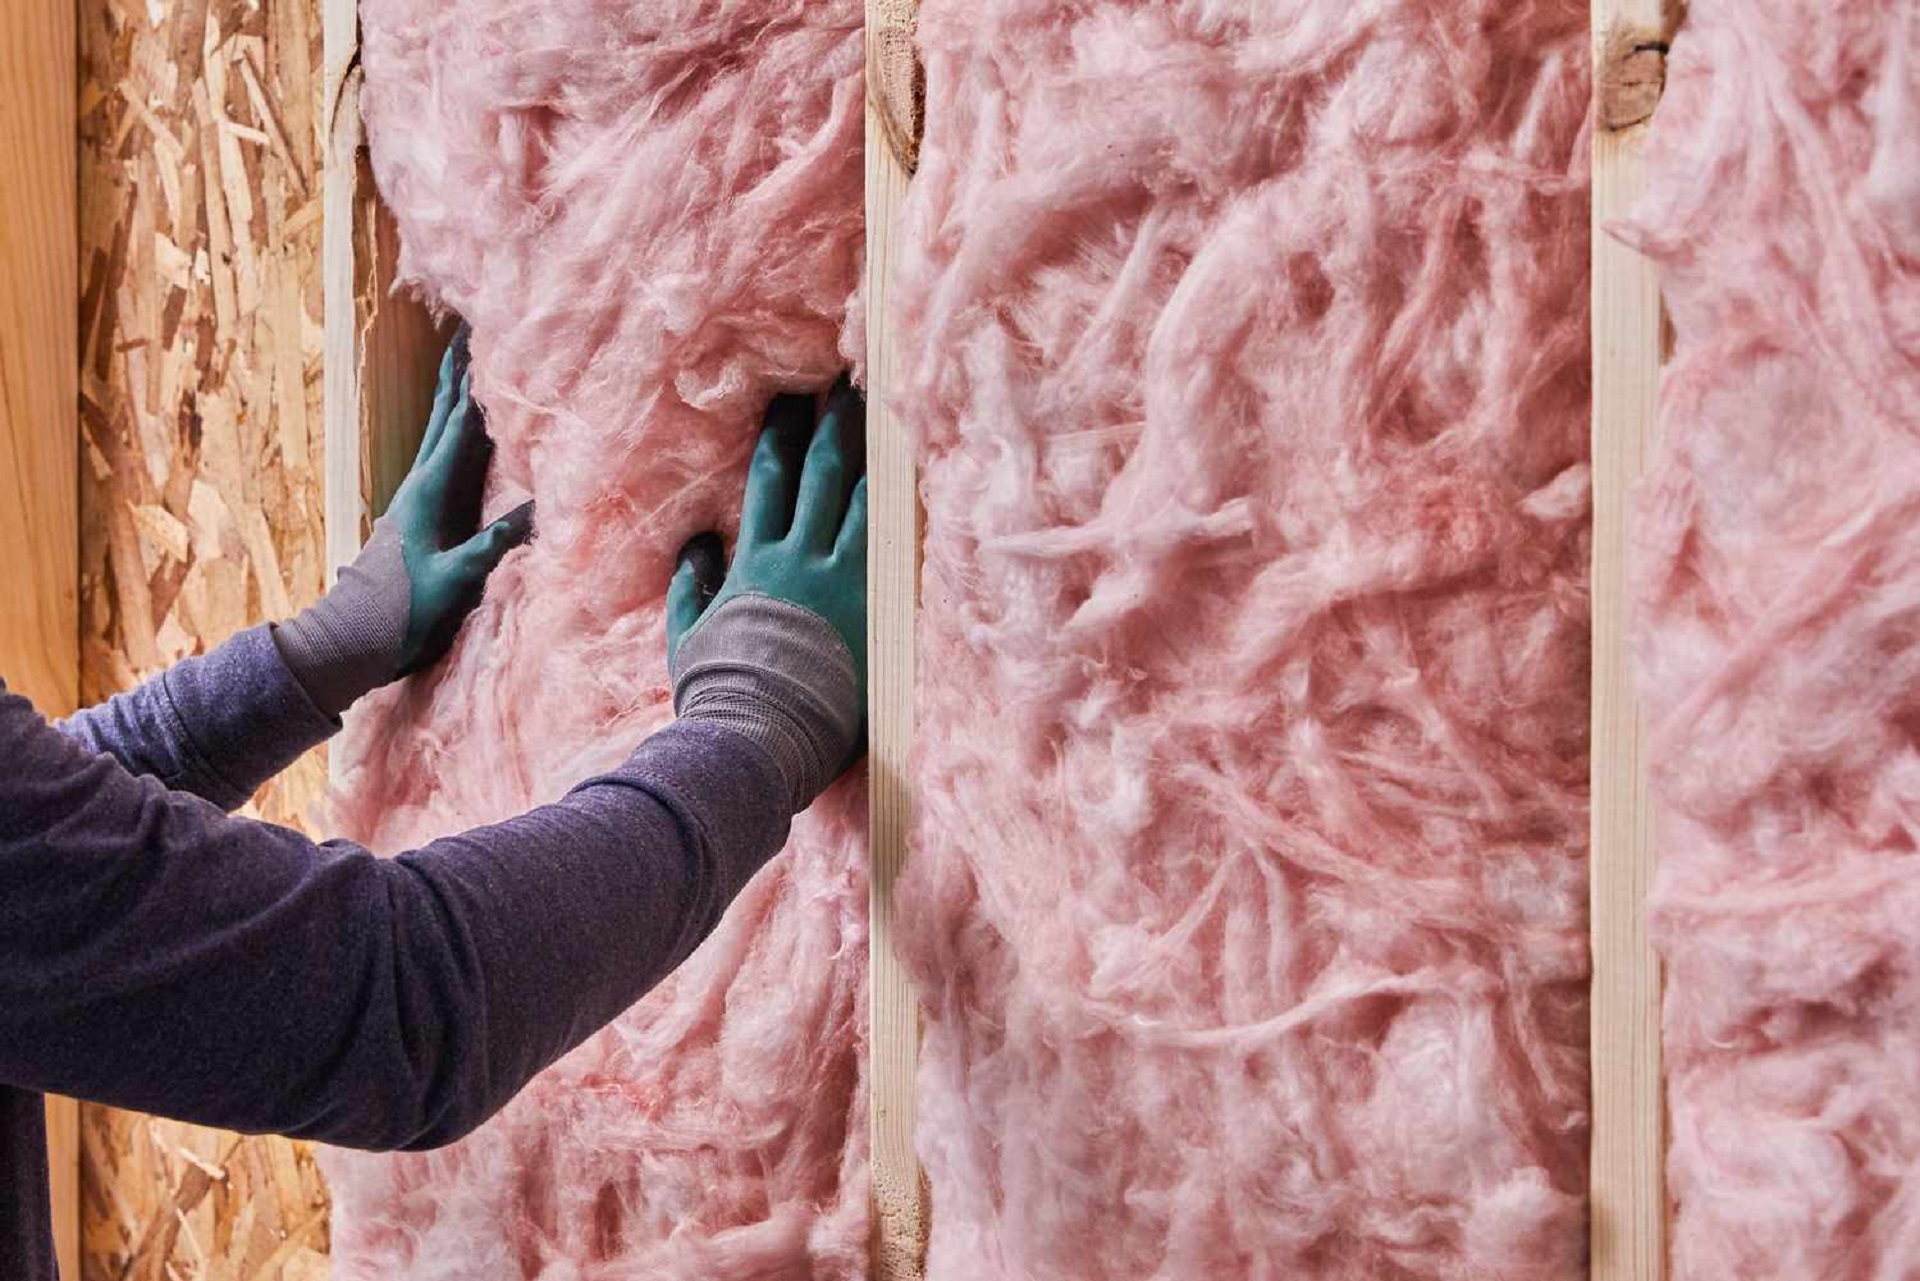
Fiberglass Insulation
Fiberglass batt insulation is among the most popular for insulating shed walls and roofs. It’s readily available, affordable, and provides a good R-value per inch. Fiberglass is easy to cut to fit your spaces. Just make sure to wear proper protective gear when handling it. The downsides are it can be itchy to install, and batts don’t fill small gaps well.
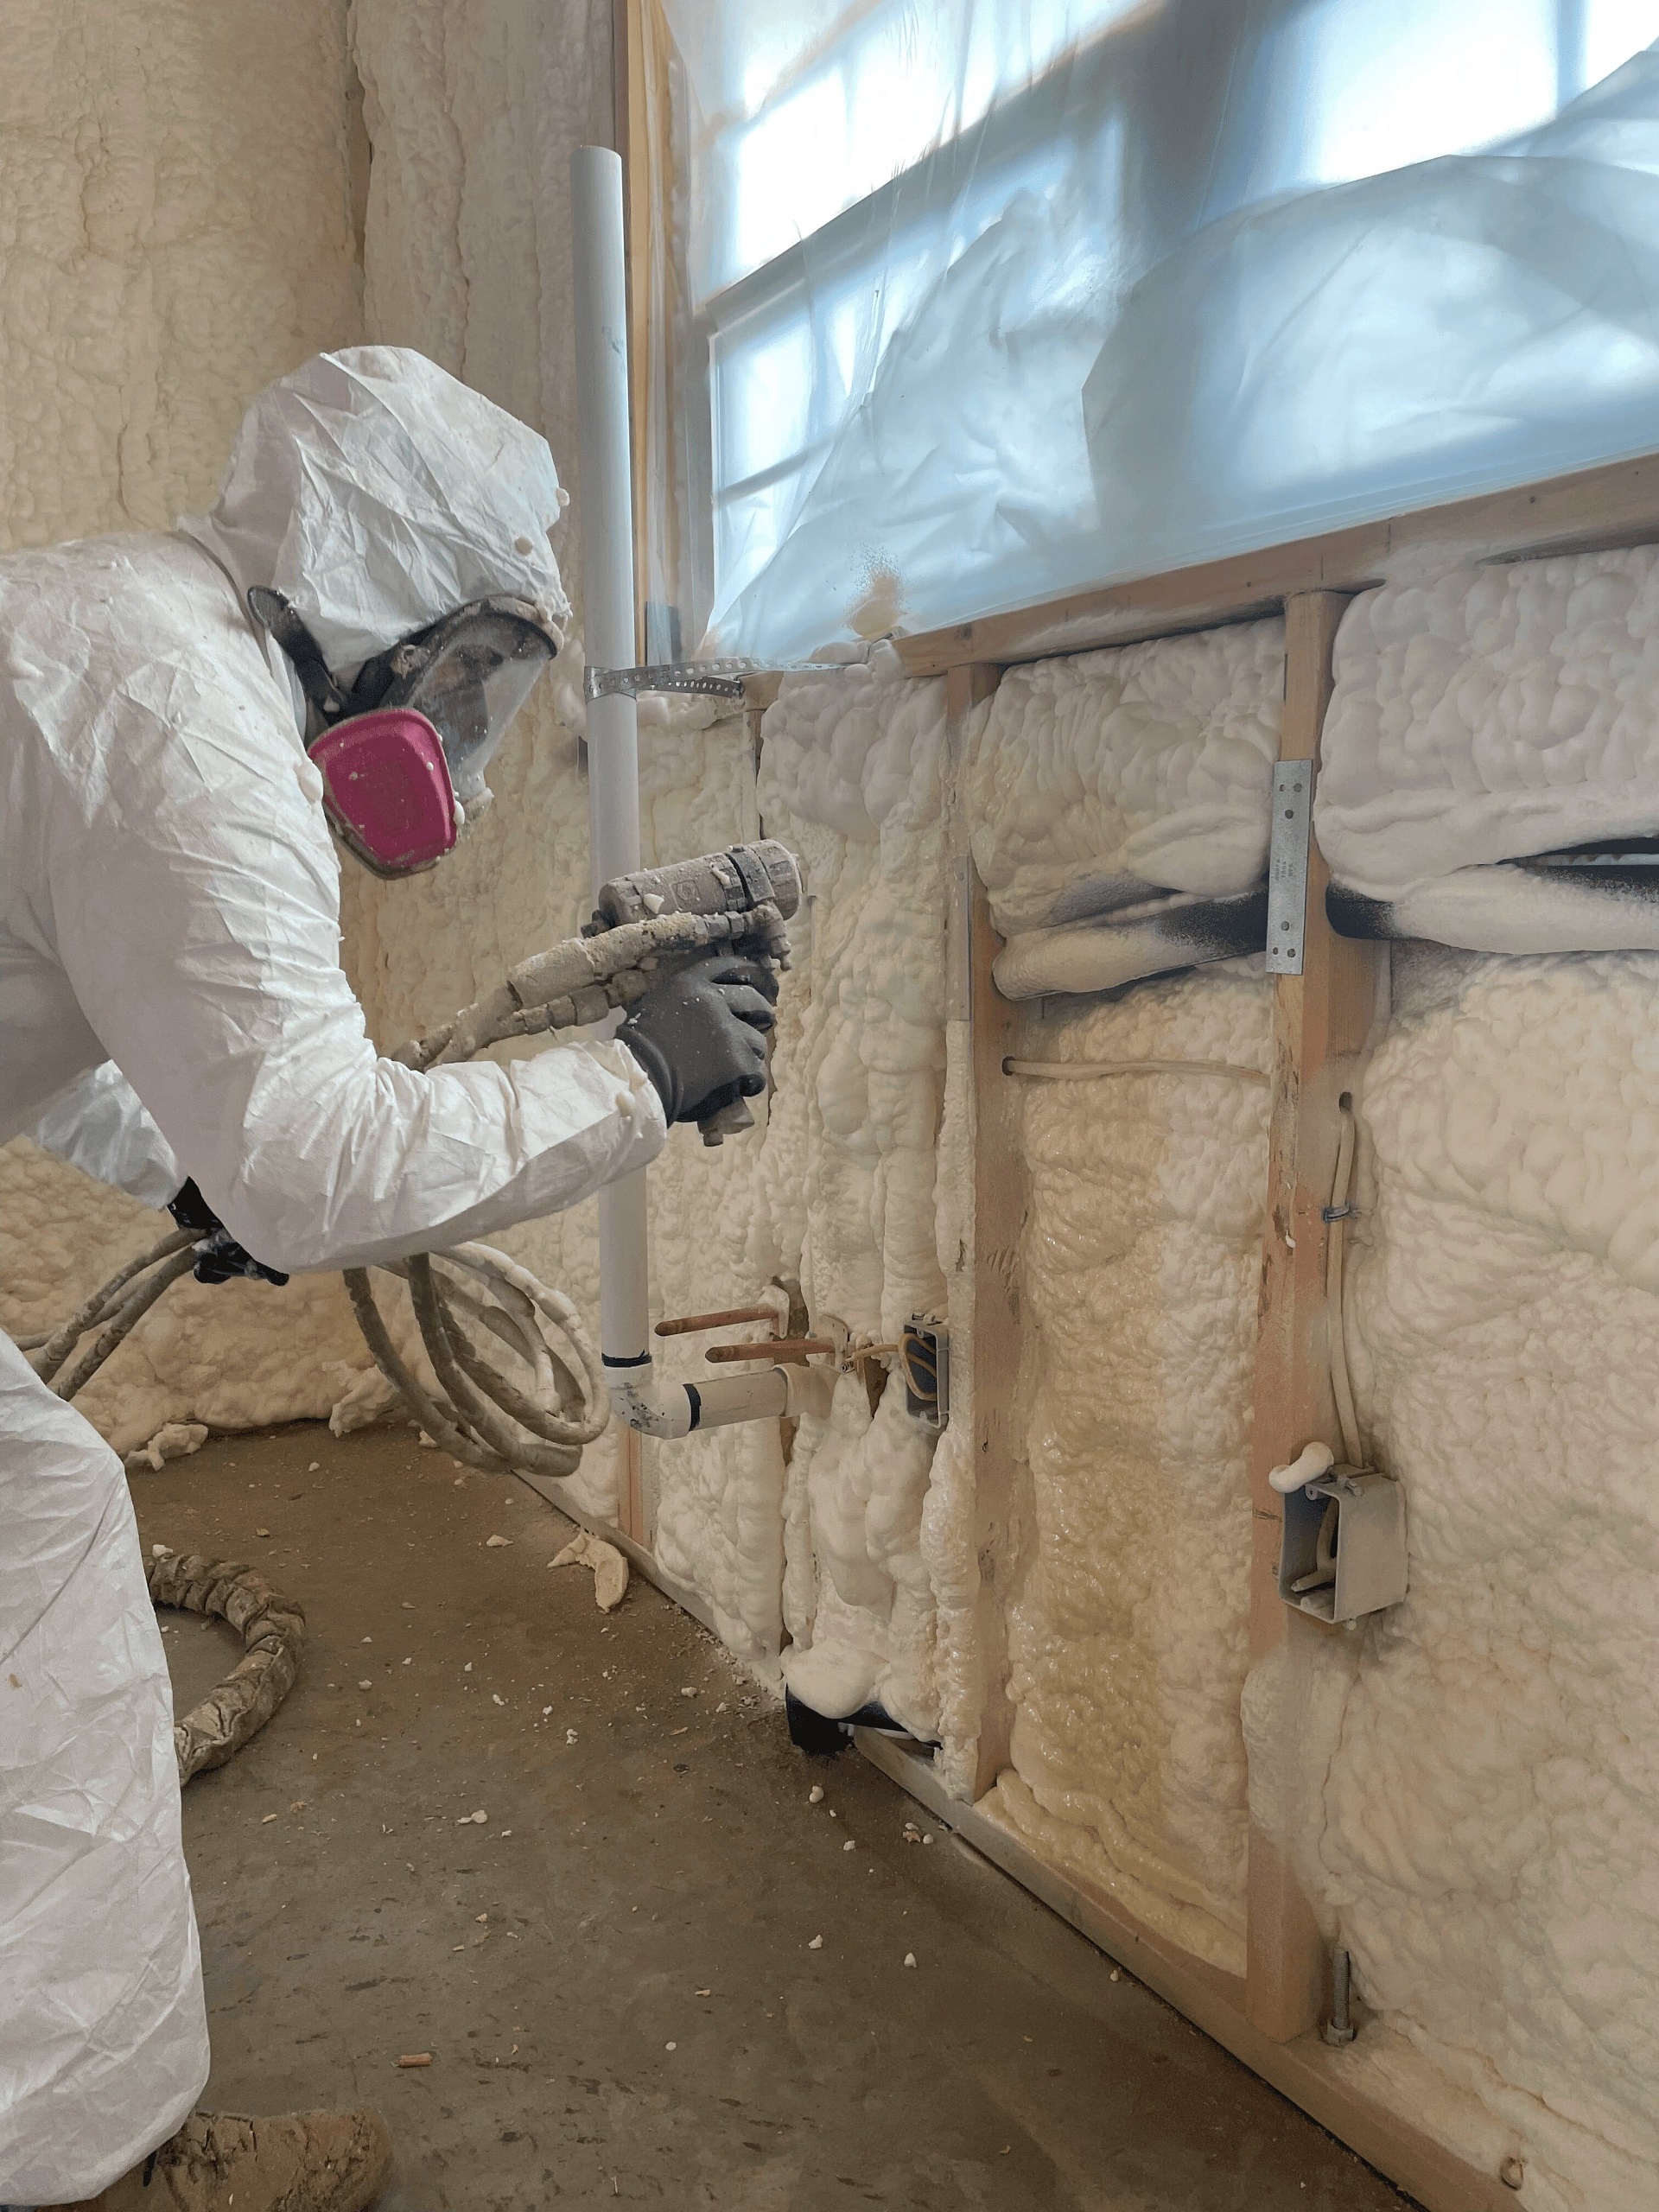
 Spray Foam Insulation
Spray foam insulation is an excellent solution for insulating tricky spots. It adheres to surfaces and expands to fill gaps. Closed-cell spray foam provides insulation and moisture protection. Hiring a pro is recommended since special equipment is required. Spray foam insulation has a high R-value per foot but a higher cost.
 Rigid Foam Boards
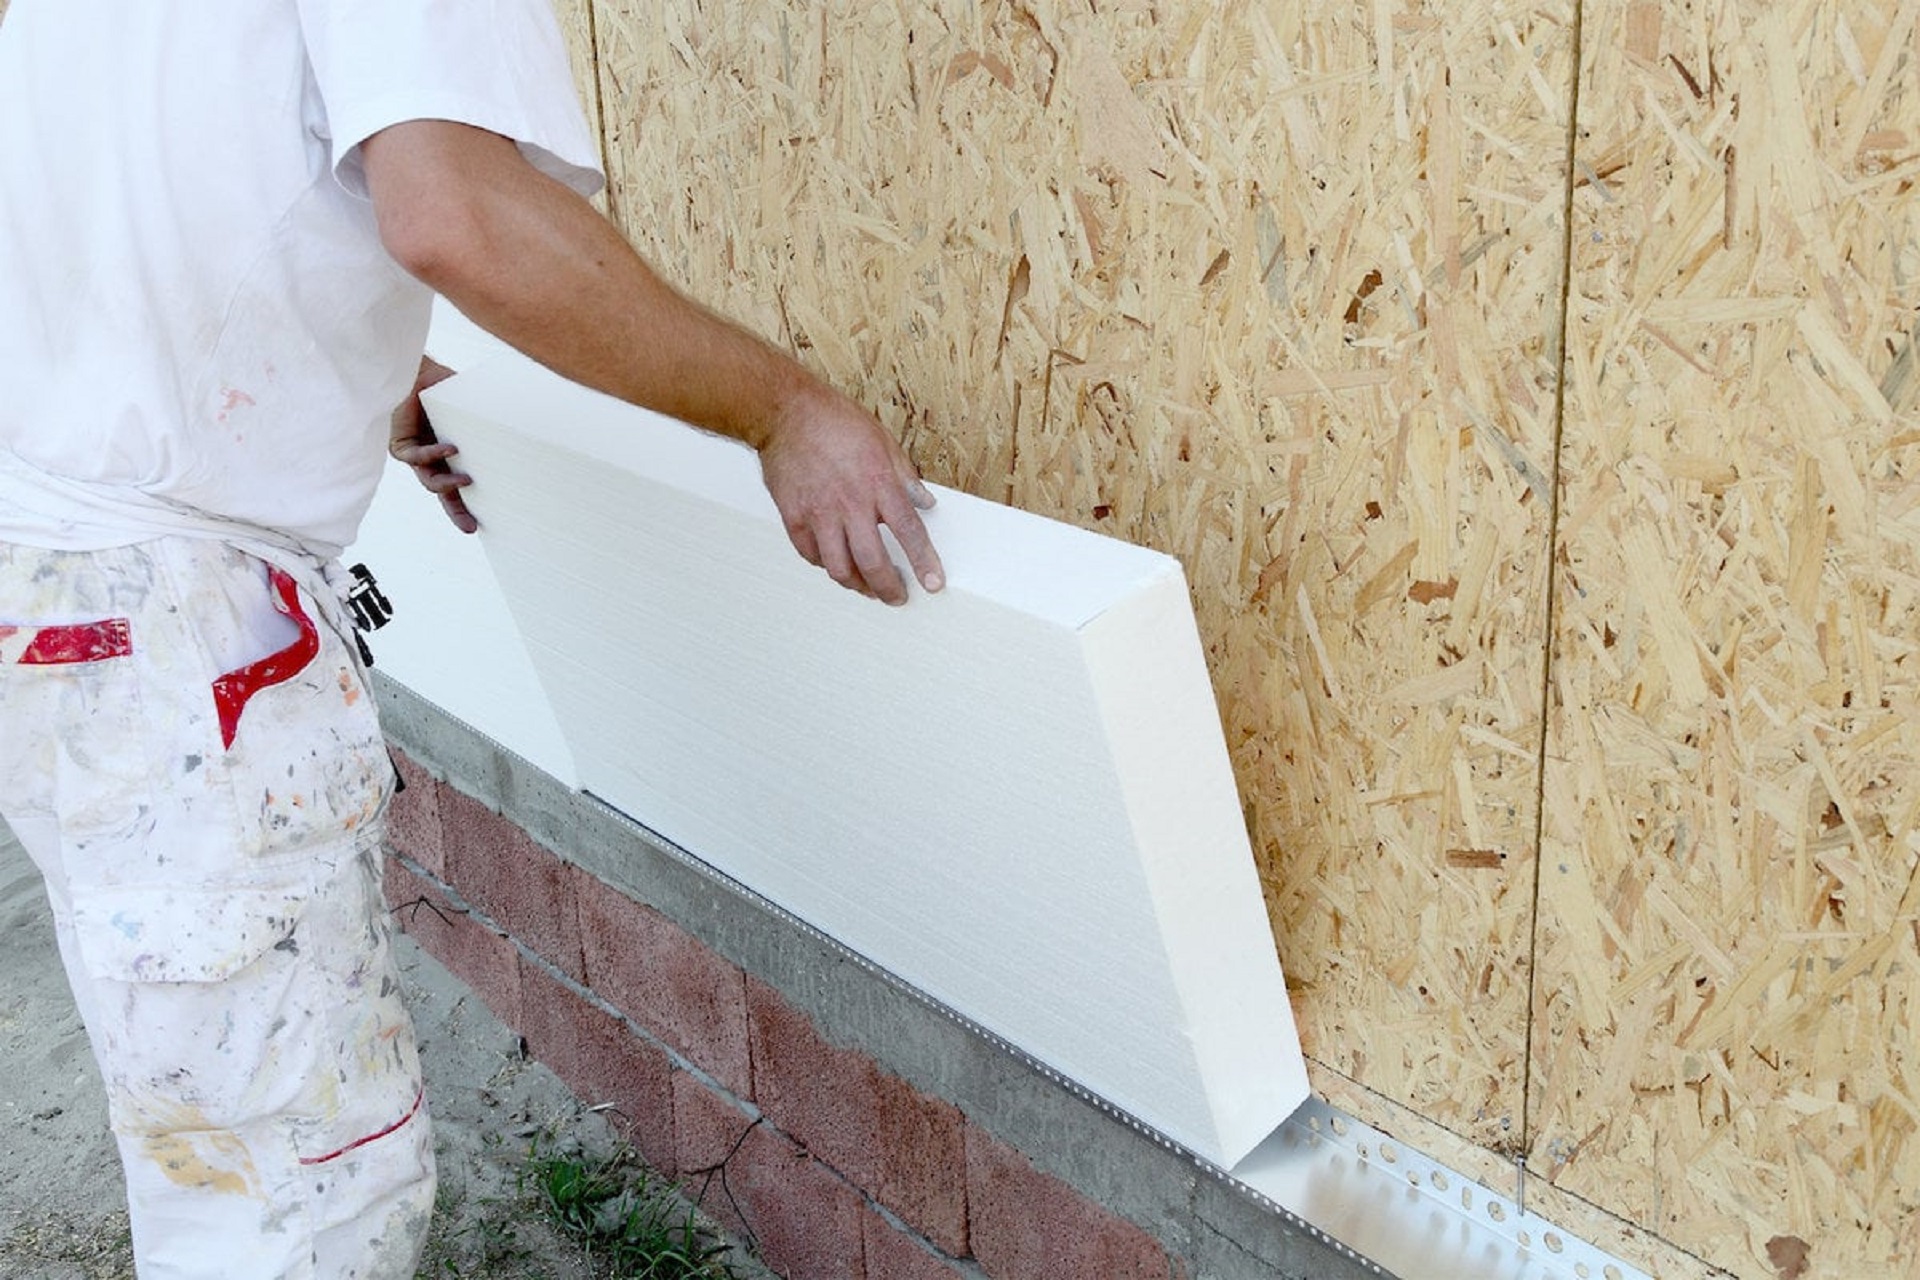
Rigid foam insulation boards of polystyrene or polyisocyanurate are ideal for insulating shed floors and foundations. Foam boards provide excellent insulation, and their rigid form blocks drafts. Use adhesive and sealant for watertight installation. Rigid foams do require a protective cover as they can degrade in sunlight.
Reflective Insulation
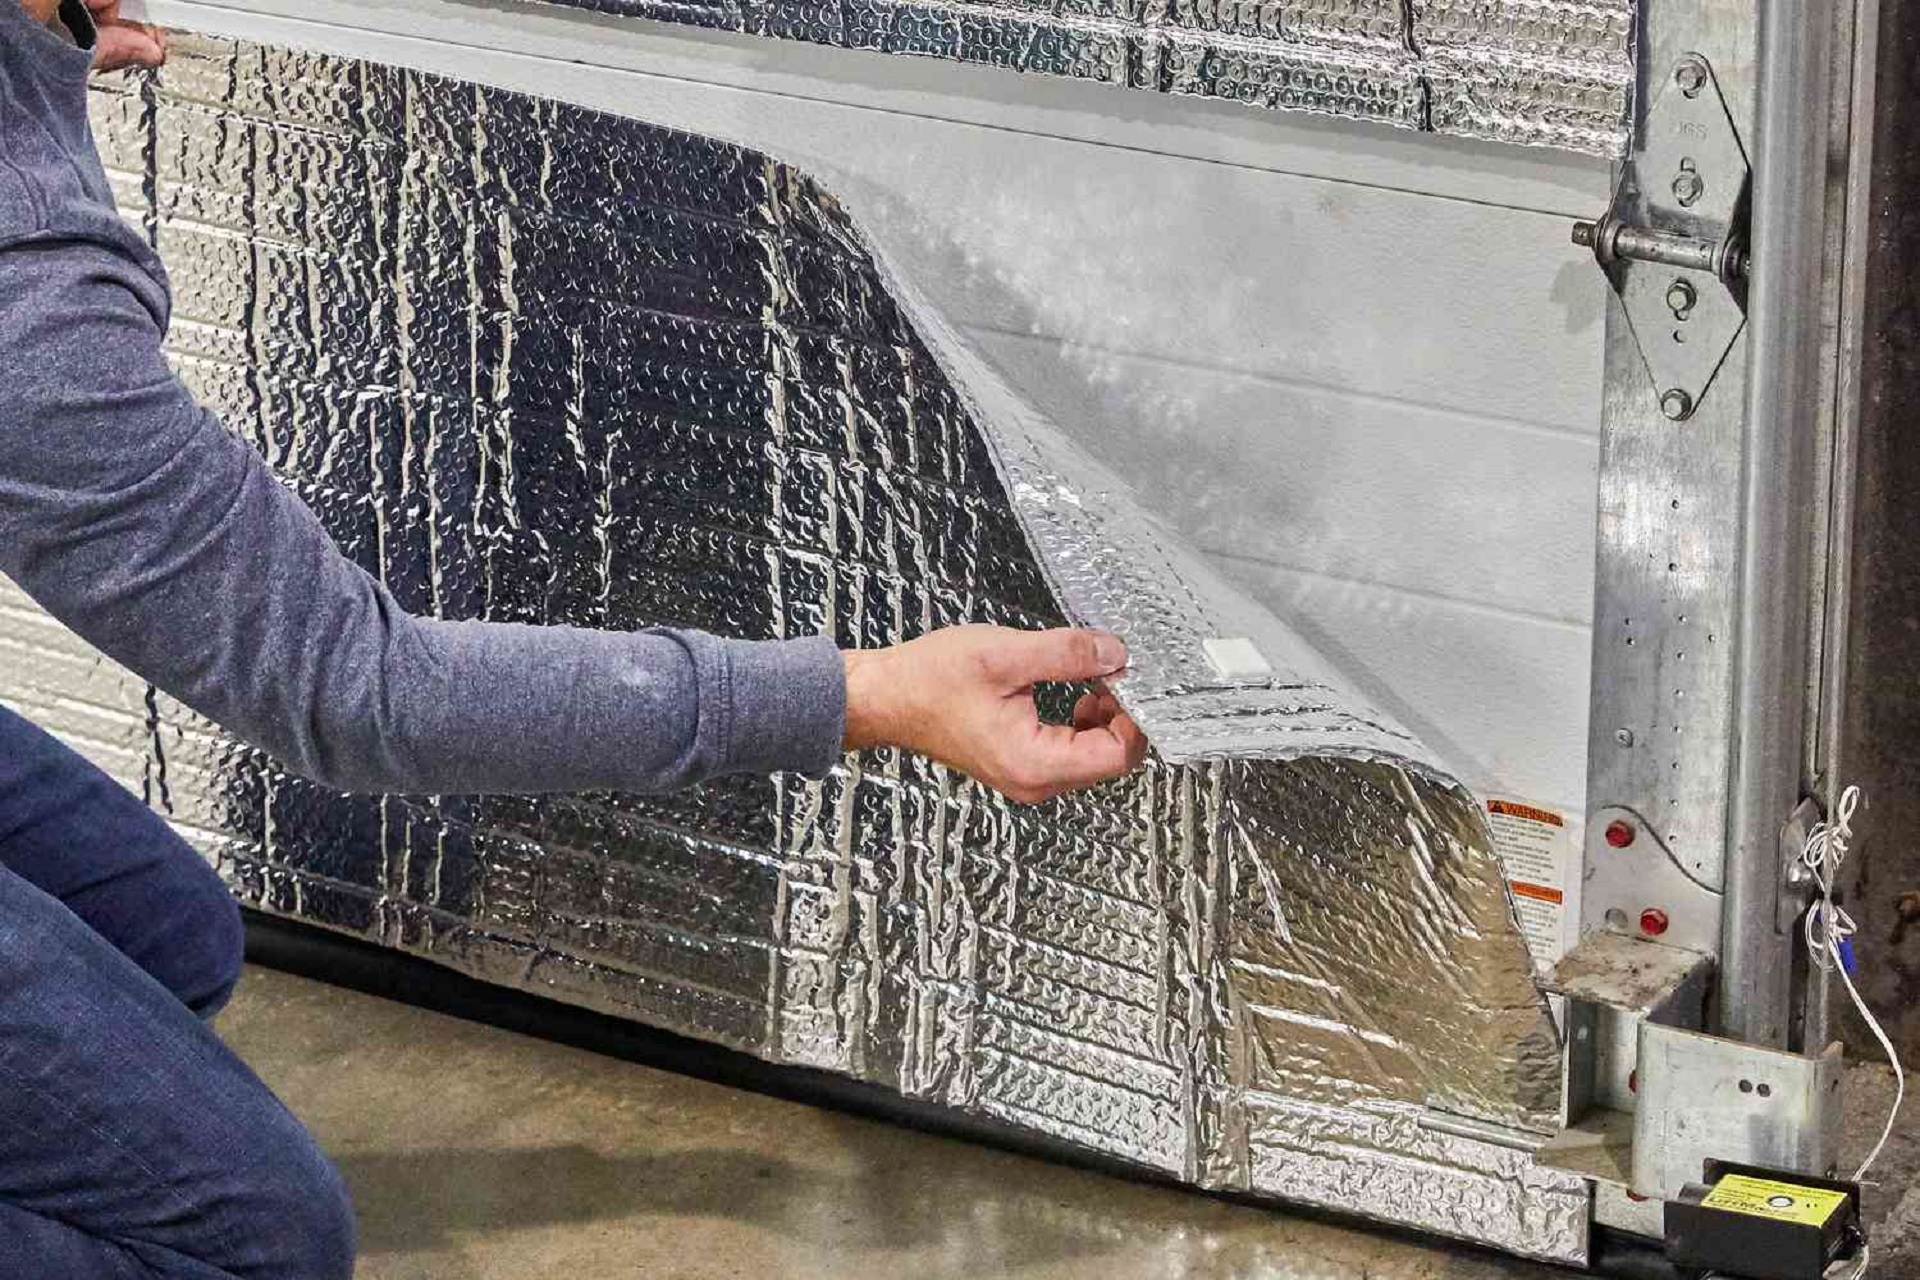
Reflective insulation like sisilation paper can also be used in shed walls and roofs. It blocks radiant heat transfer through air spaces. Use in combination with other insulation for ample thermal resistance. Many Australians favour this type of insulation because it suits the climate well and can eliminate the need for heating/cooling devices, cutting back on energy costs. The use of sisalation paper is standard in Aarons Outdoor studios, workshops and sheds.
Natural Insulation
Natural insulation like cellulose from recycled paper or sheep wool can provide good insulation and sustainability. Though cost-effective, they usually require professional installation to pack tightly. Watch for settling over time.

How Much Insulation is Needed?
When insulating your shed or studio, it’s essential to determine how much insulation you need for your specific climate. Australia has eight defined climate zones, ranging from hot, humid summers in the tropical north to icy alpine regions down south. The amount of insulation recommended depends on which climate zone you live in.
In the warmer Zone 1 and 2 regions of Queensland, Northern New South Wales and the Northern Territory, recommended R-values range from R3 to R4. These areas only require a moderate level of insulation to maintain comfort.
Moving inland and south to the hot, dry Zone 3 through temperate Zone 5 regions, you should aim for R5-rated insulation. These central and southeast areas span from southern Queensland to South Australia. This level ensures protection from summer heat and winter chills.
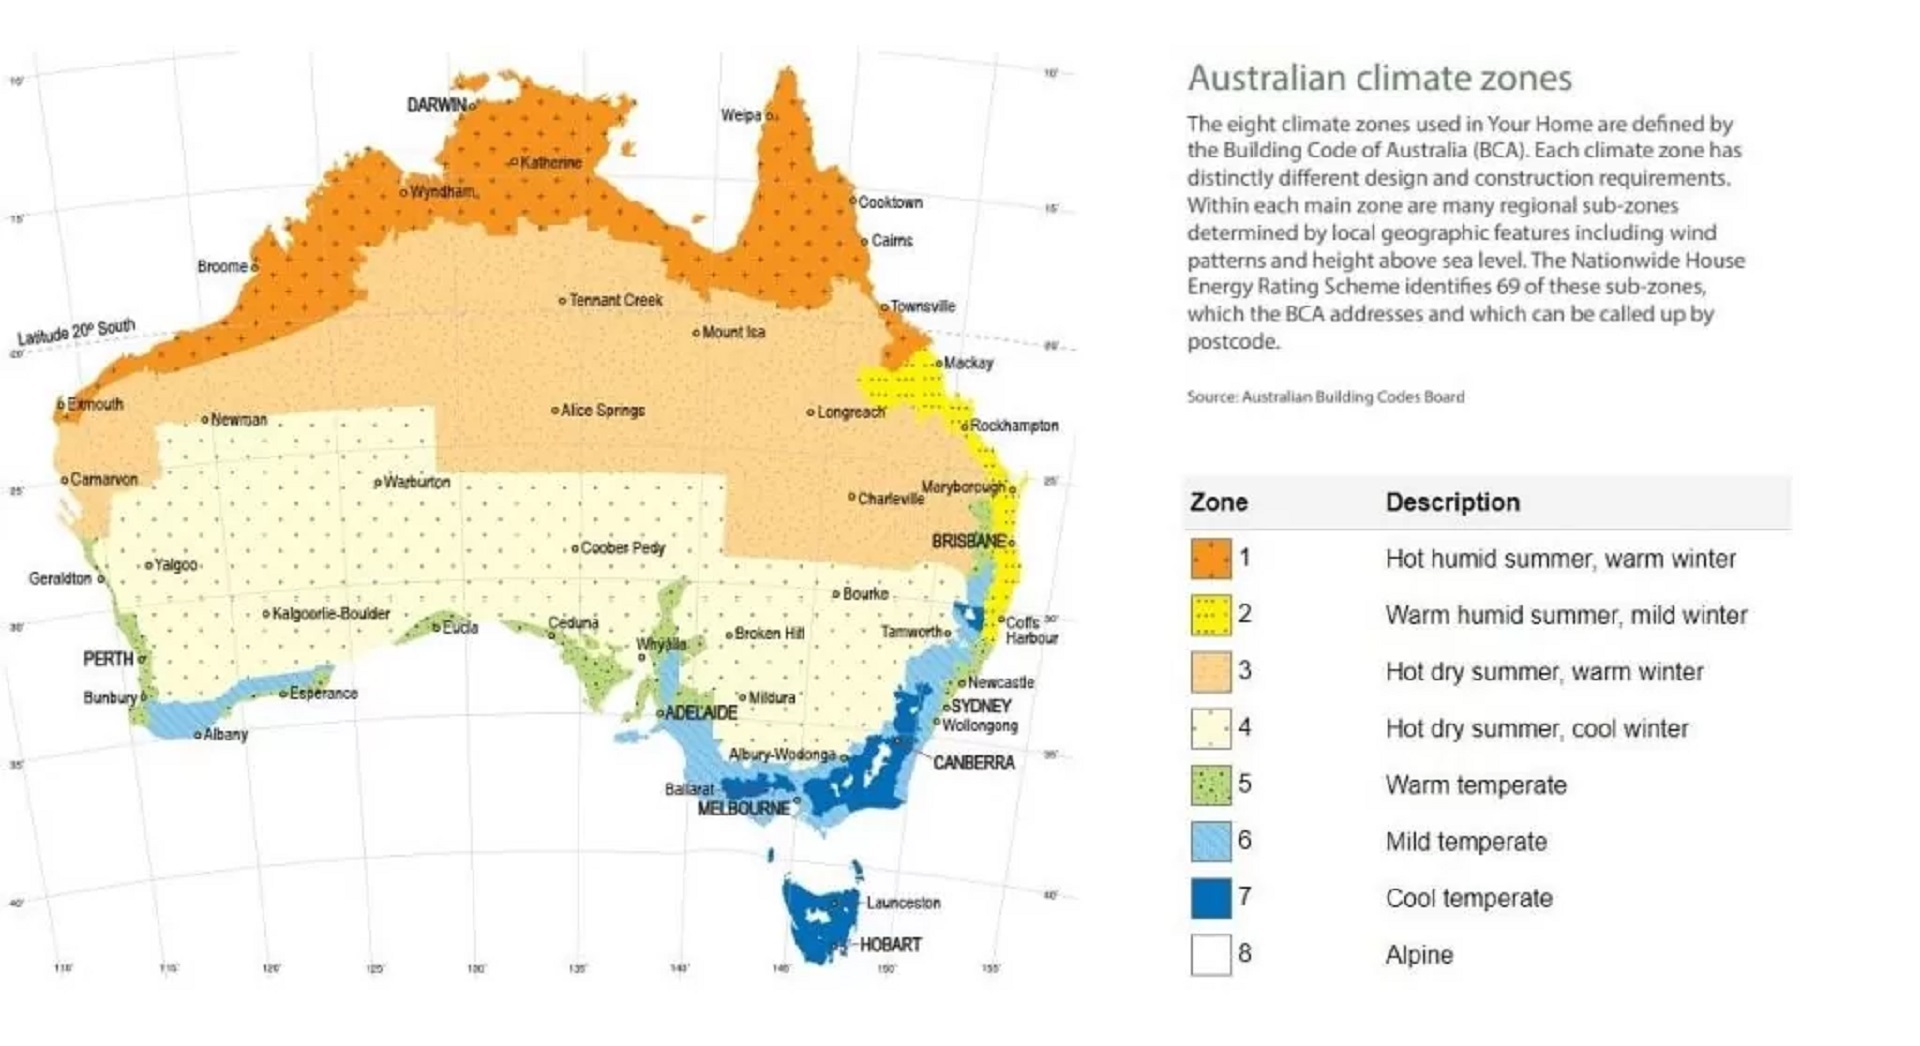 The cooler Zone, 6 and 7 climates like southern Victoria, Tasmania and subalpine areas, need higher insulation with R6 ratings recommended. This boosts thermal performance for colder winters while still blocking summer heat gain.
Finally, only the coldest alpine Zone 8 regions require maximum R6 level insulation. These areas across far southeast NSW, eastern Victoria and central Tasmania experience freezing winters and require top insulation.
When purchasing insulation, check the product ratings and recommended climate zones to ensure you get a sufficient R-value—also, factor in shed size, ceiling height, and how you plan to use the space. A studio or hangout room may need higher insulation for comfort versus just storage. Talk to Aarons for the best insulation recommendations in your specific area.
Insulating Shed and Studio Walls
Properly insulating your shed or studio walls is crucial for controlling temperature, reducing moisture damage, and improving energy efficiency. Follow these key steps to install wall insulation correctly.
Measure and Purchase Materials
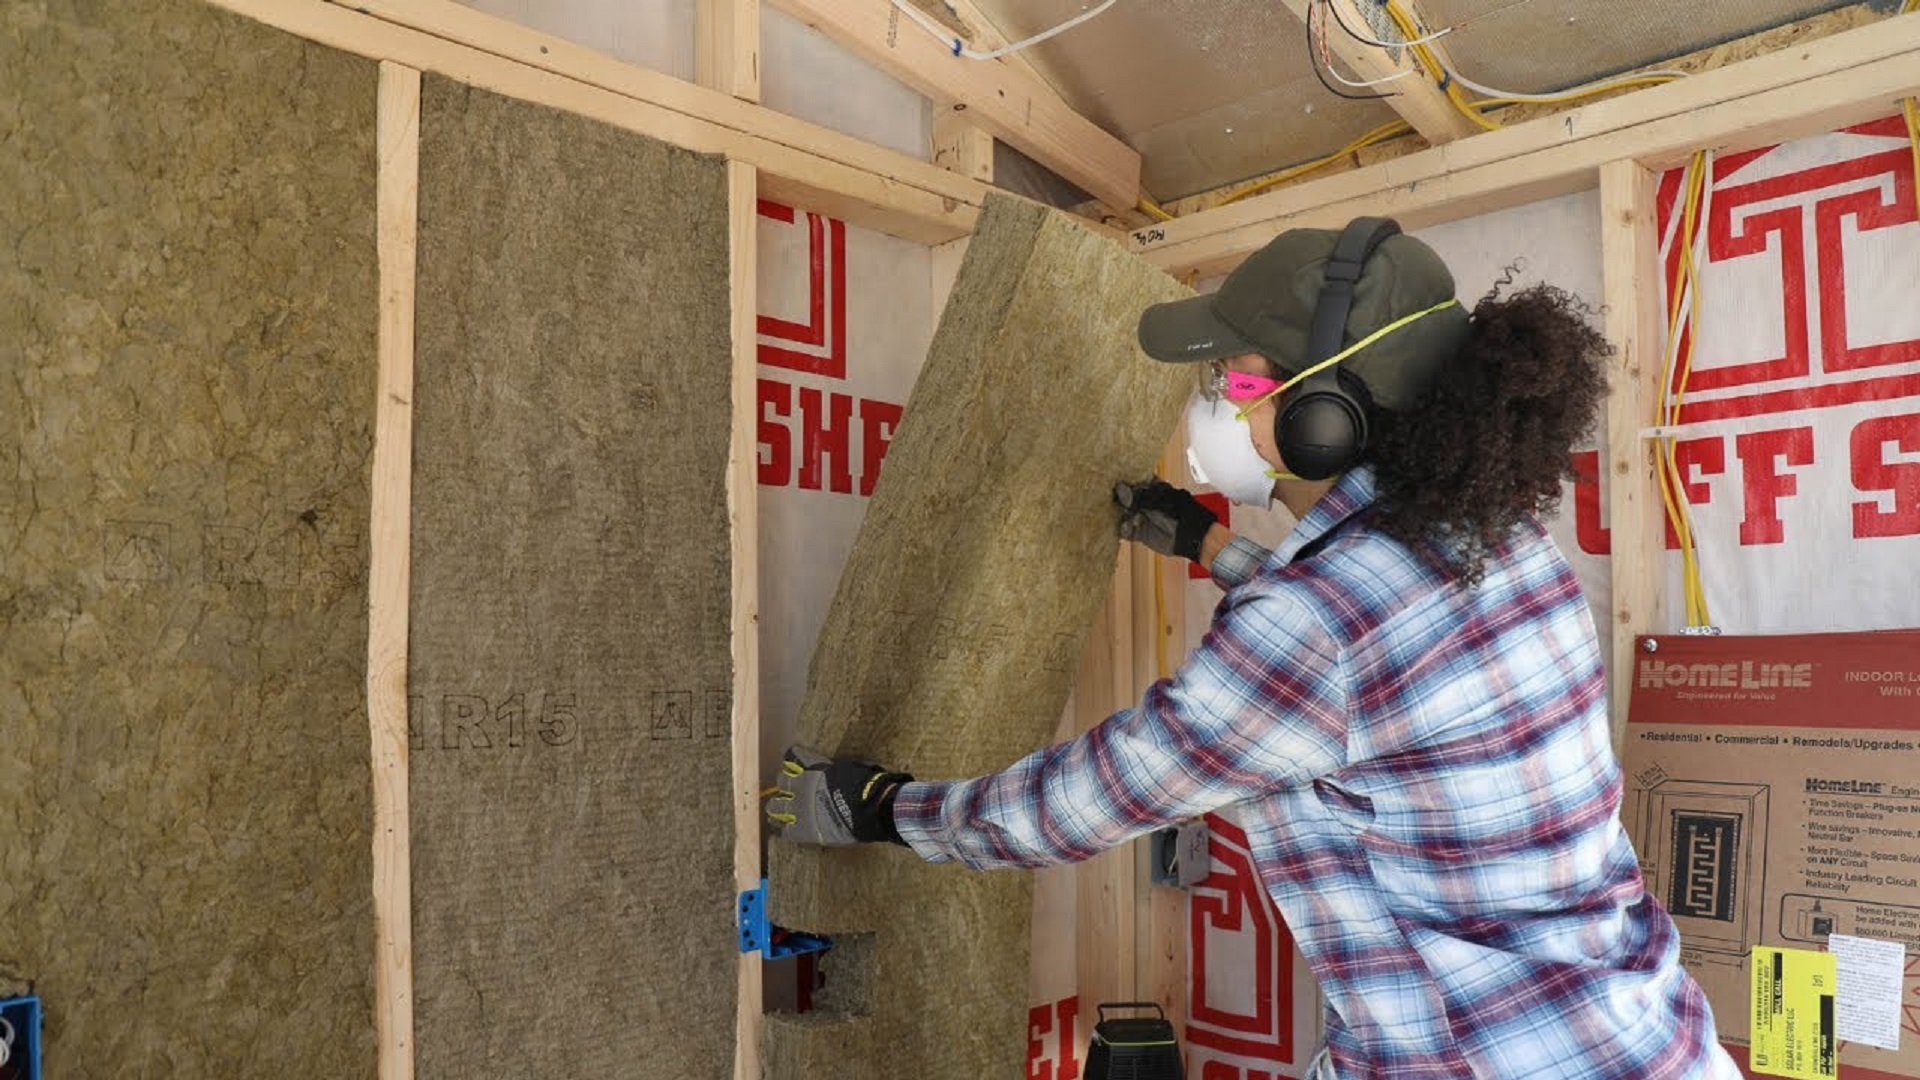
First, carefully measure wall dimensions, framing layout, and spacing between studs. This ensures you buy adequate insulation to fill the entire cavity. For fibreglass batt installation, purchase batts sized to friction fit between studs. Wear protective gloves and long sleeves when handling fibreglass.
Address Wires and Obstructions
Inspect the wall cavity for electrical wires, plumbing, ducting, or other obstructions. Reroute, protect or work around these. Electrical wires require clearance between insulation to prevent overheating.
Insert Insulation Snugly
Insert fibreglass batts between wall studs. Compress gently and hold in place while securing. Use insulation hangers to fit insulation against stud faces snugly. Friction keeps batts stationed. Avoid over-compressing.
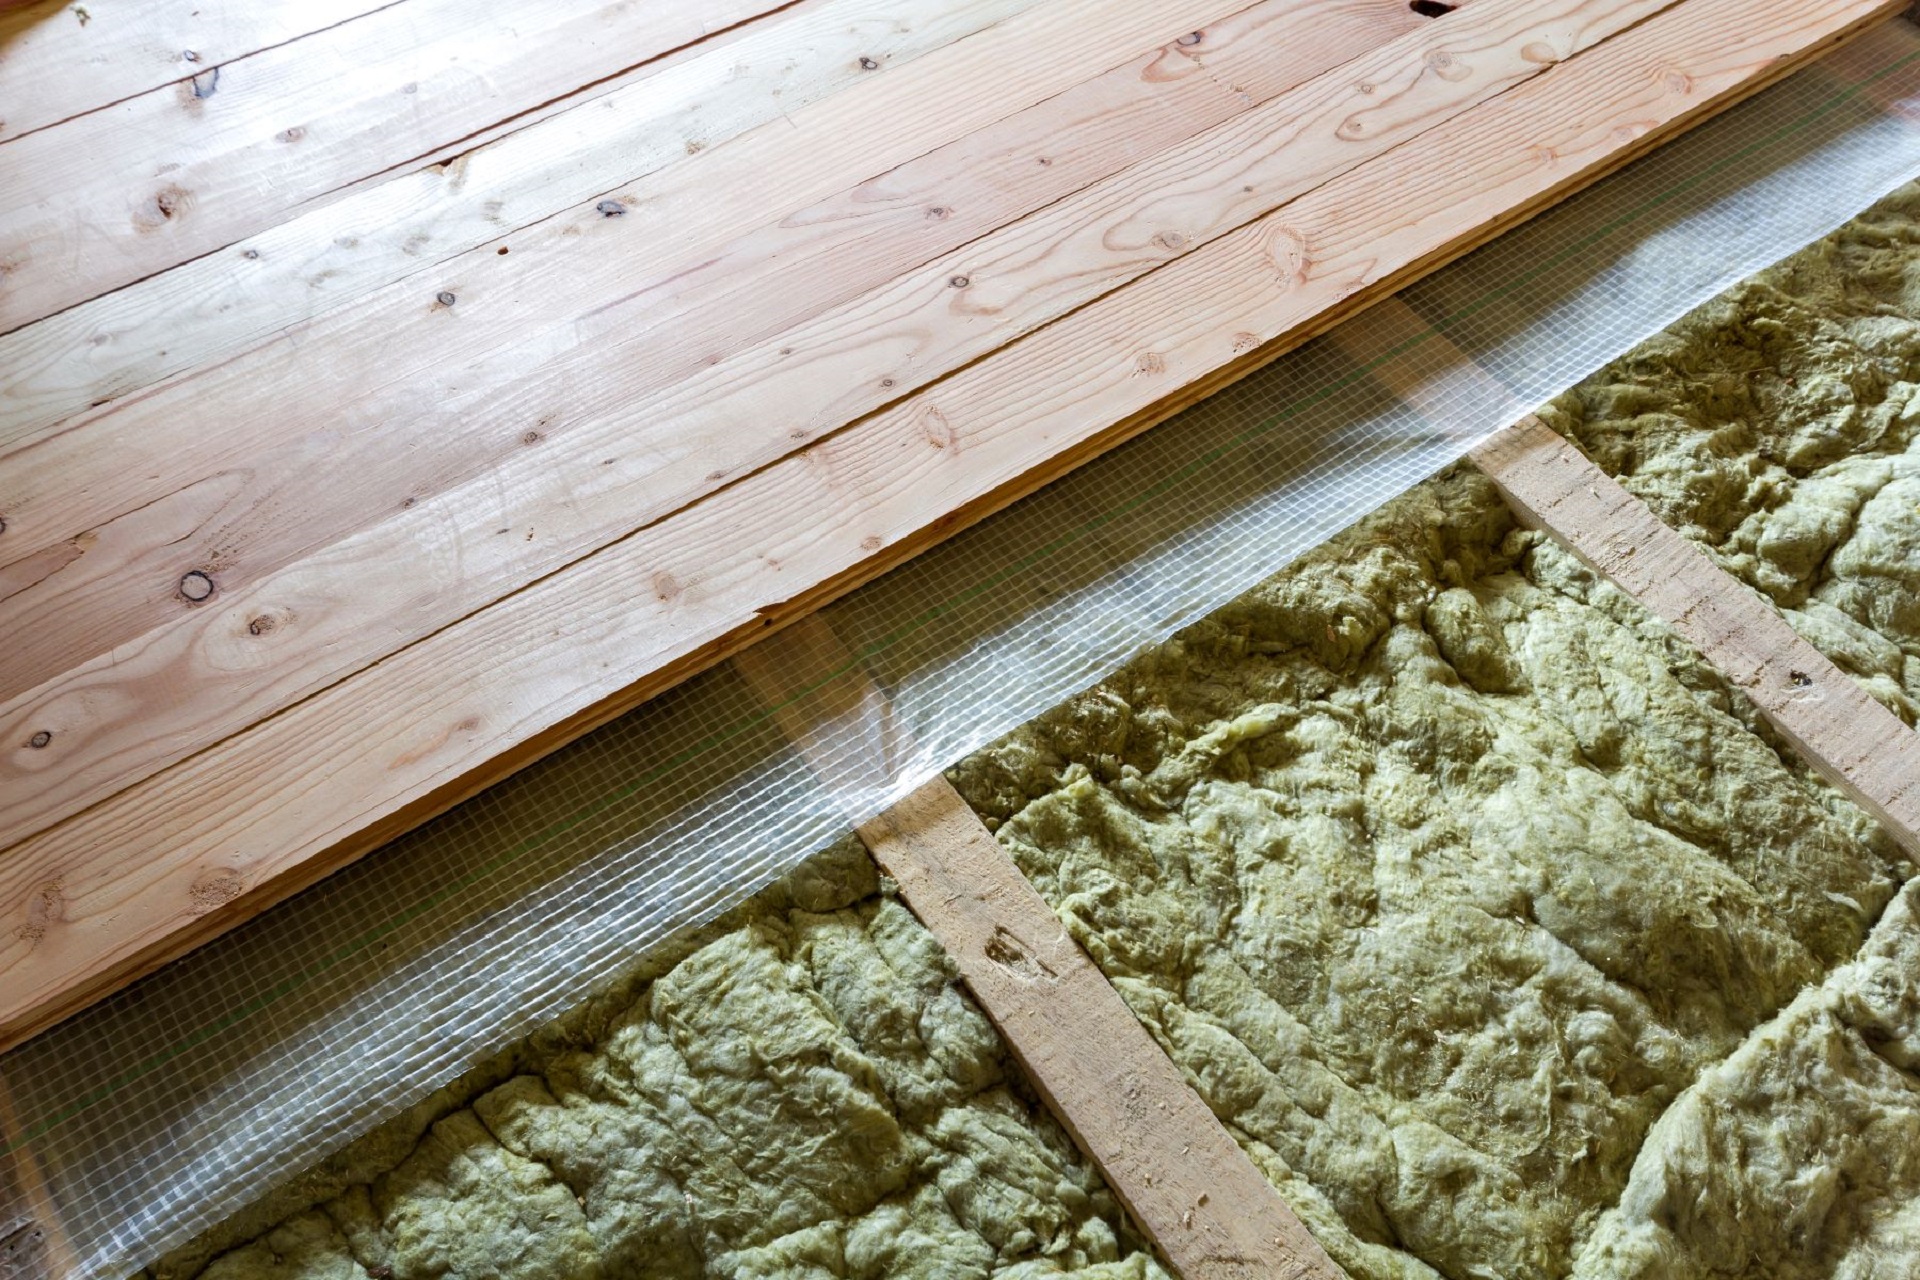
 Seal Vapour Barrier
Staple vapour barrier sheeting over insulation. Seal seams with adhesive tape and staple sheet tightly to studs for an airtight seal. This prevents hot, humid air from entering wall cavities in summer.
Avoid Gaps and Compression
Look for gaps between batts or behind pipes/outlets, which can cause heat loss. Use insulation scraps to fill voids. Don’t over-pack, as compression lowers the R-value. Get insulation to the required depth behind wall finishes.
Block Thermal Bridging
Add insulation behind studs to prevent “thermal bridging” where heat travels through framing. Use rigid foam boards or densely packed cellulose behind studs. This boosts energy efficiency.
Consider Acoustics
For studios, use acoustic sound-absorbing insulation like rock wool in walls. Stagger studs to reduce noise transfer. Isolate electric boxes to block sound leakage. These steps will dramatically improve good quality.
Insulating Your Shed or Studio Ceiling
The ceiling is a prime spot for heat gain or loss in a shed or studio. Proper insulation helps regulate temperature and reduce energy costs. Here are tips for addressing this critical area:
Measure Space and Purchase Cellulose
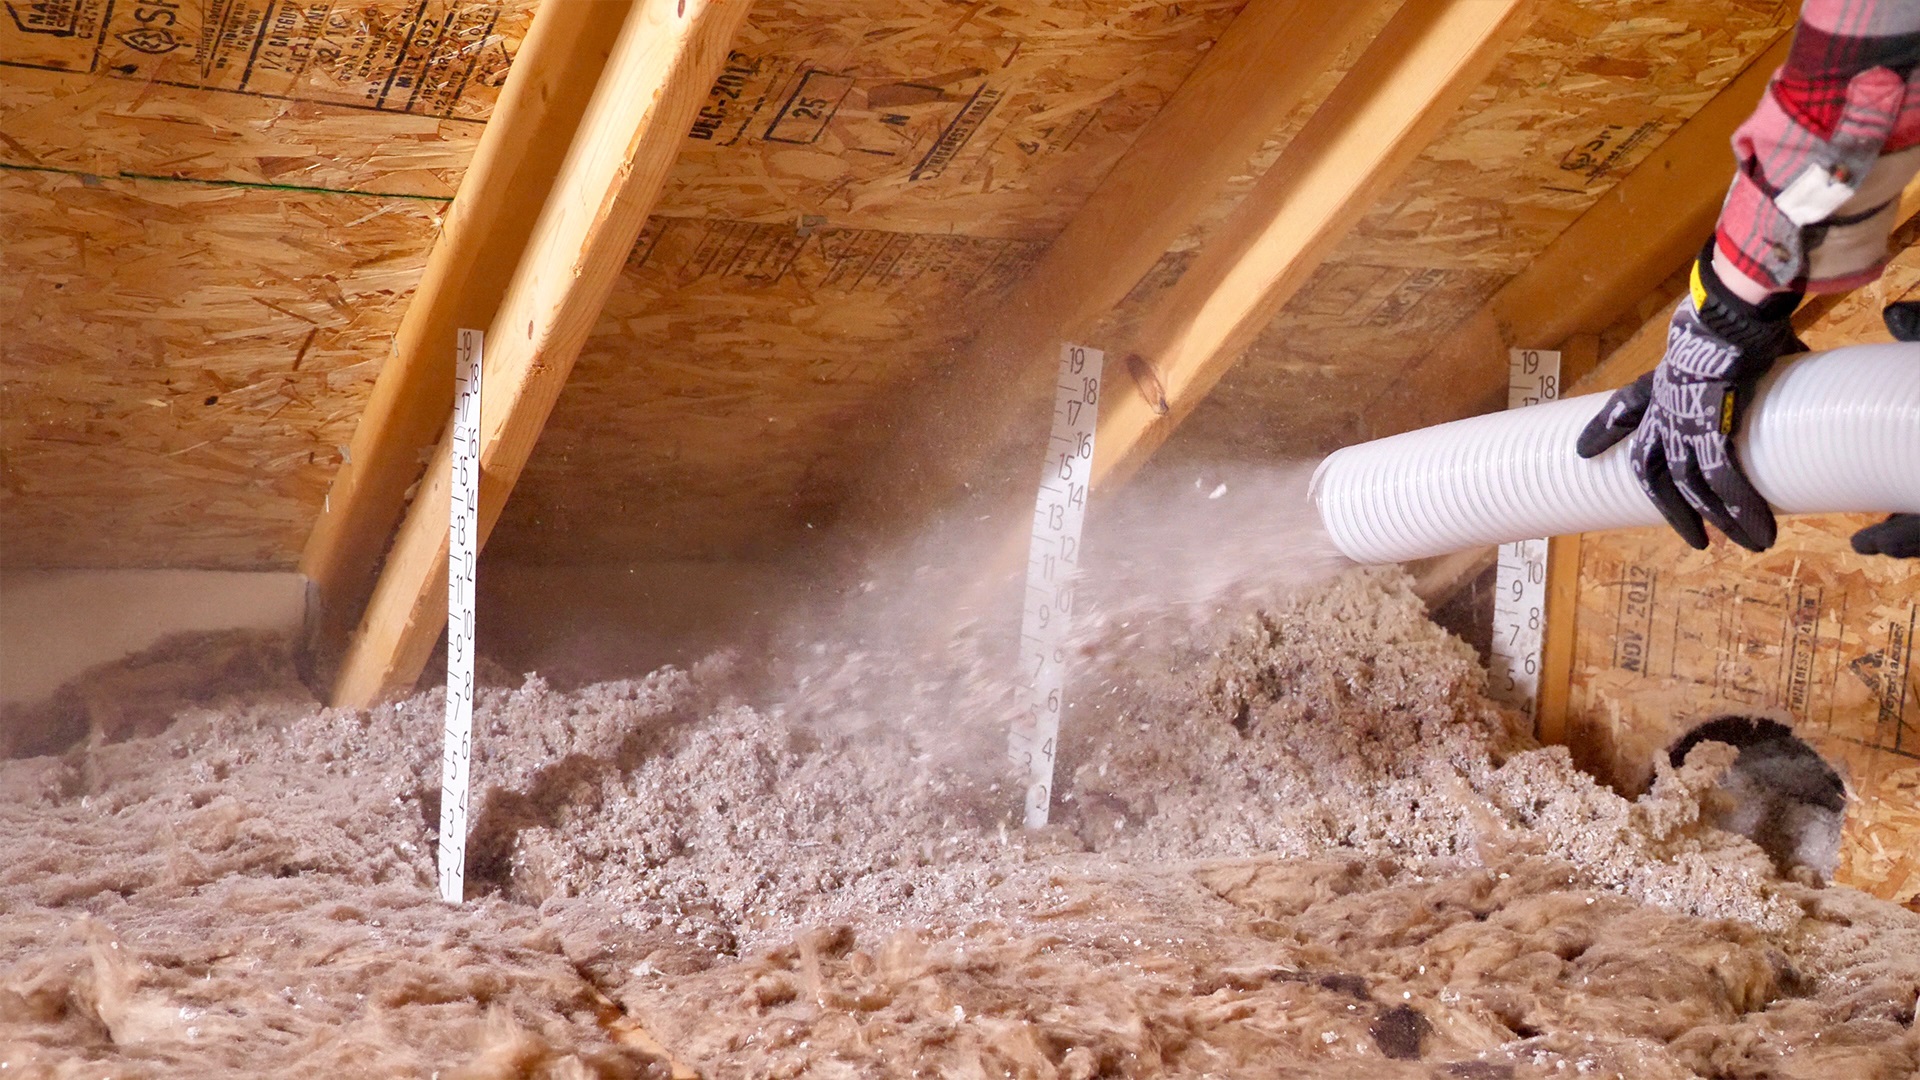
Calculate the square footage of your ceiling and purchase enough blown-in cellulose to meet the R-value recommended for your climate zone. Cellulose made from recycled materials provides excellent thermal performance.
Protect Yourself
Wear a mask and goggles, and cover exposed skin when blowing in cellulose. The dust can irritate the eyes and skin. Consider hiring a professional if in doubt.
Blow Insulation In
Feed cellulose into the blowing machine and insert the hose between the ceiling joists. Blow insulation in 6-inch layers, packing tightly between joists. Get even coverage across the entire ceiling.
 Block Air Leaks
Scan for gaps around lights, joists and pipes. Use expanding foam sealant to fill these. Cover electrical boxes with insulation covers. Seal any cracks along the eaves.
Insulate Knee Walls
Don’t forget to insulate vertical knee walls in attics and cathedral ceilings. Use rigid foam boards or dense-packed cellulose here.
Alternative Options
Fiberglass batts or rigid foam boards can also provide ceiling insulation. Weigh noise reduction, cost and DIY difficulty when choosing the suitable materials.
Insulating Your Shed or Studio Floor
Installing insulation under your shed or studio floor helps control temperature, increase durability, and reduce noise. Follow this process to add rigid foam boards:
Measure Floor Area
Calculate the total square footage of the floor space. Purchase rigid foam boards sized to fit floor joists and foundation perimeter. Get foam-rated for direct ground contact.
Secure Boards
Use construction adhesive to attach boards firmly between joists. Fasten boards with screws into floor framing. Ensure insulation fits snugly with no gaps.
Seal Seams
Tape over any seams between boards using foil tape. Fill small cracks or holes with expanding foam sealant. This prevents heat loss through gaps.
 Add Plywood Layer
Cover rigid insulation with fire-retardant plywood sheeting—secure plywood to joists to create a walkable floor surface.
Avoid Thermal Bridging
Insulate around plumbing, posts and penetrations to prevent heat transfer. Maintain insulation thickness under doors and walls.
Alternative Options
Spray foam or fibreglass batts also work for shed floors. Ensure any insulation chosen is moisture-resistant and suitable for direct ground contact.
Insulating Openings for Protection from the Elements
Windows, doors, vents and other openings are prime spots for air leakage in a shed or studio. Sealing these effectively is key for insulation. Follow these tips:
Choose Weatherstripping
Select weatherstripping like felt, foam or vinyl that suits each opening type. Consider compression, durability and seal quality needed. Measure openings and purchase sufficient linear footage.
Apply Weatherstripping
Clean all surfaces thoroughly. Carefully apply weatherstripping using adhesive or nails as needed. Provide full coverage around all windows and doors with no gaps.
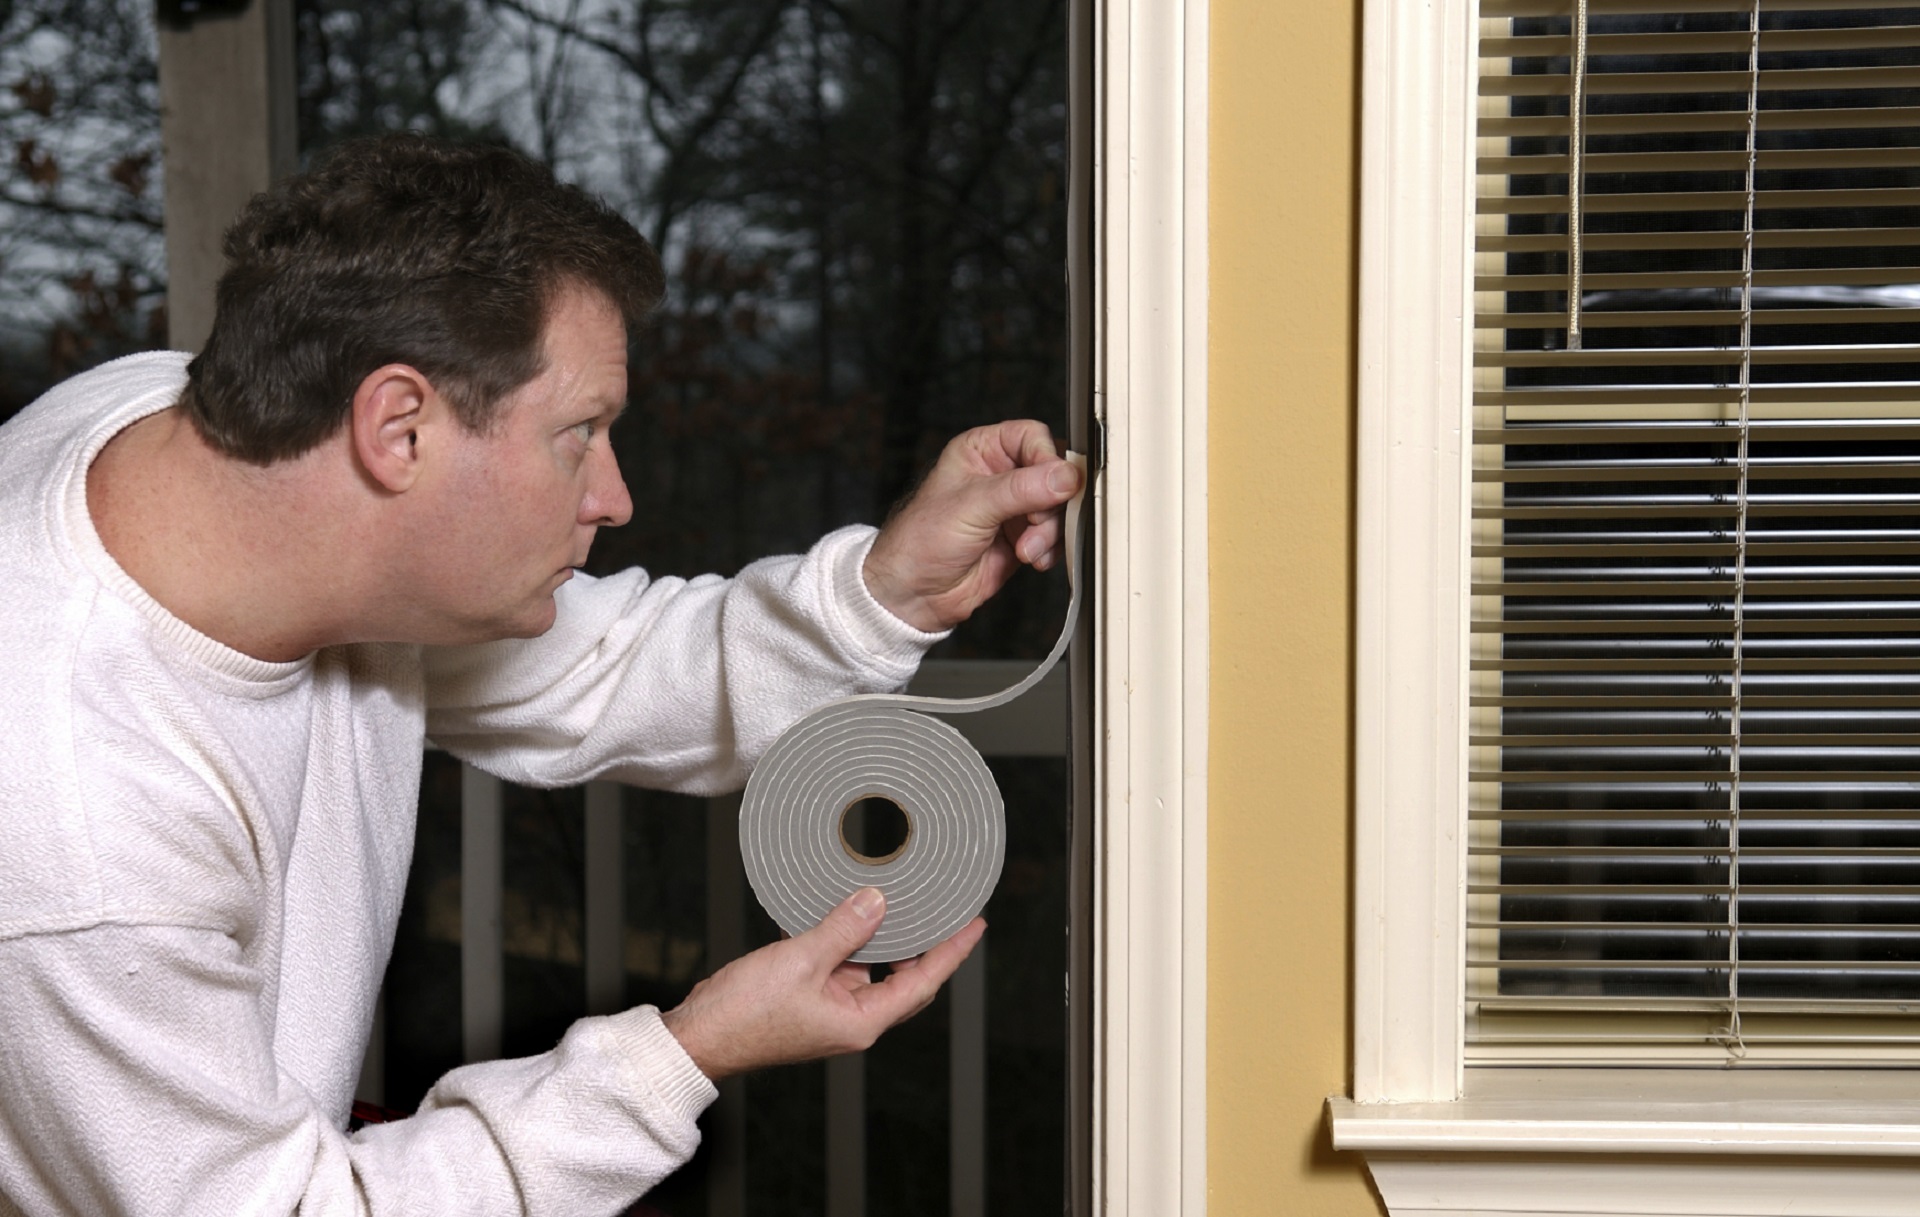 Seal Tightly
Press weatherstripping into place, closing any air pockets. Close doors and windows tightly against strips to compress and test seal. Replace any areas that don’t seal fully.
Seal All Penetrations
Use spray foam, caulk or other sealants on all vents, wiring holes and gaps. This prevents outdoor air from penetrating the insulation barrier.
Install Film Kits
Plastic window film kits provide an added insulation layer for glass surfaces prone to drafts—seal kits thoroughly around the edges for best performance.
Block the Elements and Enjoy Your Insulated Shed
Creating a comfortably insulated backyard retreat starts with intelligent planning and DIY installation. We’ve covered the essential steps for adding insulation to your shed or studio’s walls, ceilings, floors and openings. Proper coverage using suitable materials for your climate helps maintain ideal temperatures all year round.
Don’t forget to periodically inspect your insulation for any settling, gaps or damage over time. Maintaining insulation is essential for energy efficiency.
For additional guidance tailored to your specific outdoor structure and location, contact Aarons Outdoor. Our team can consult on the optimal insulation solutions and provide top-quality studios and sheds to fit your backyard.